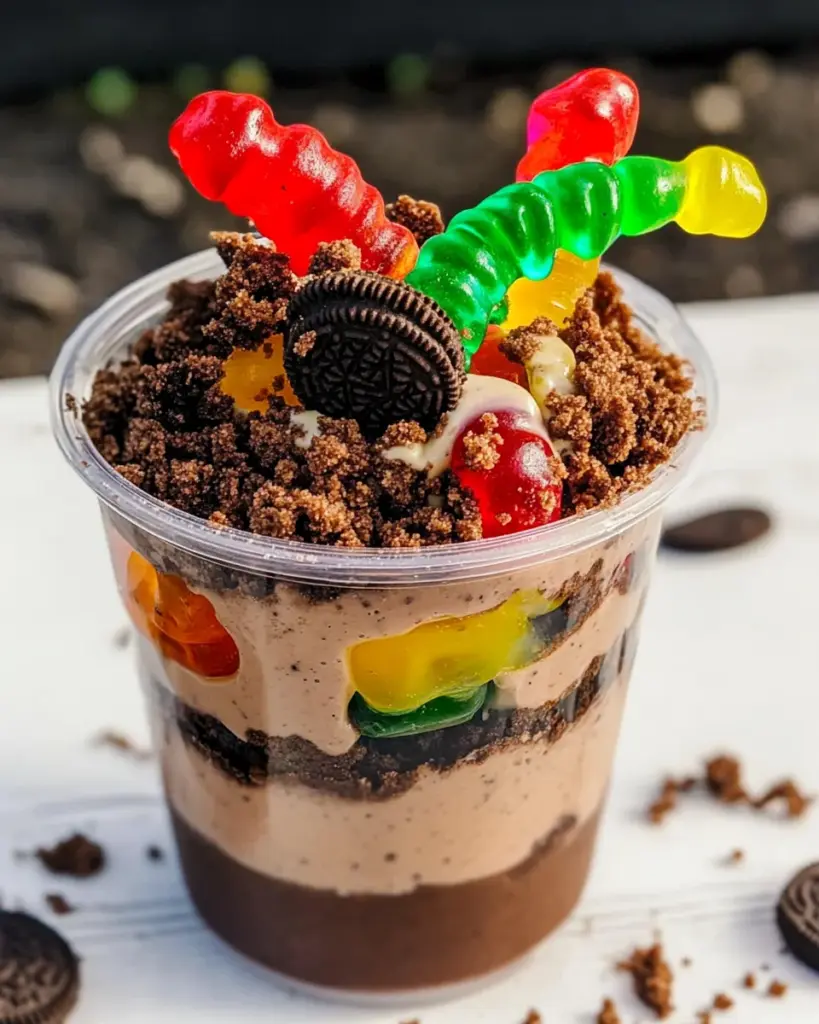
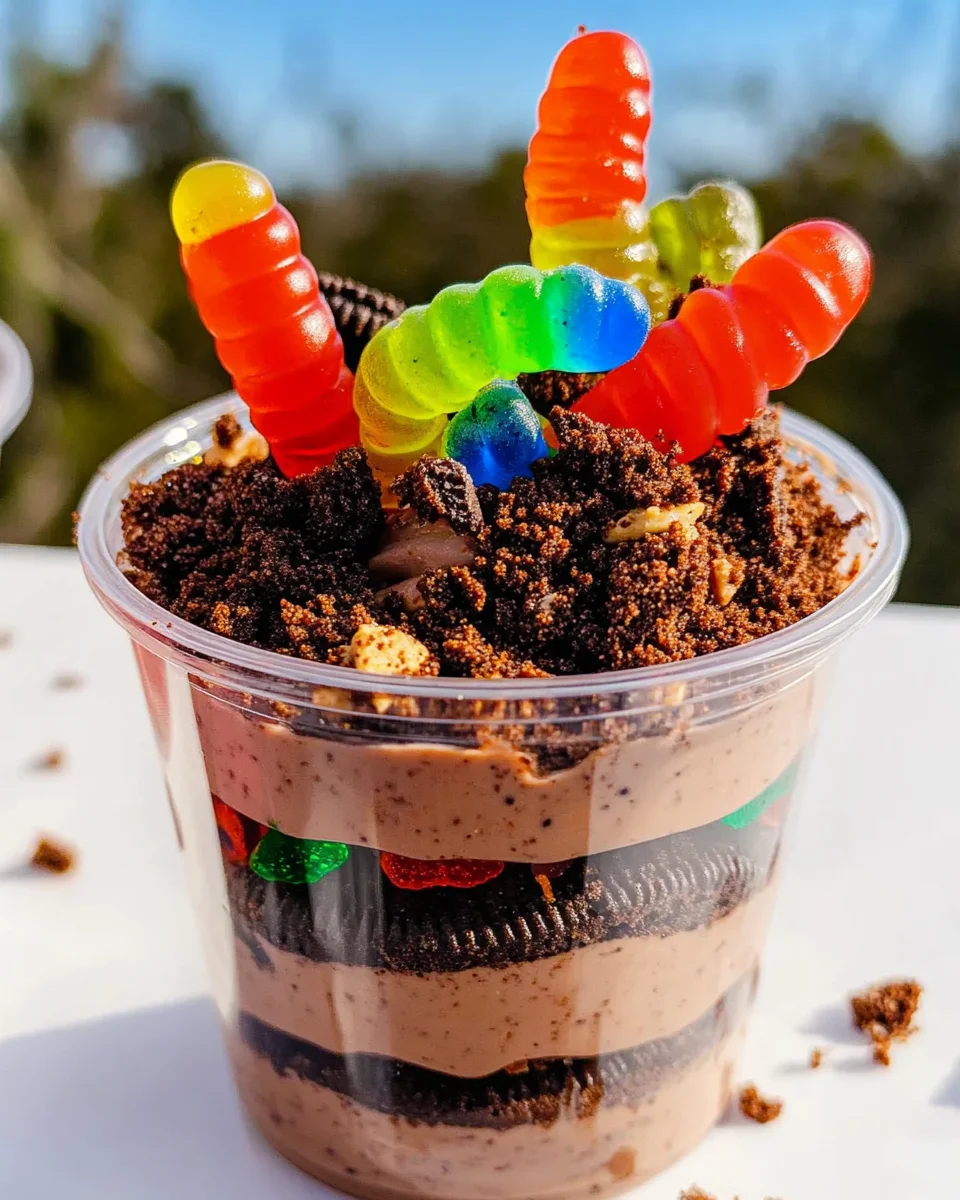
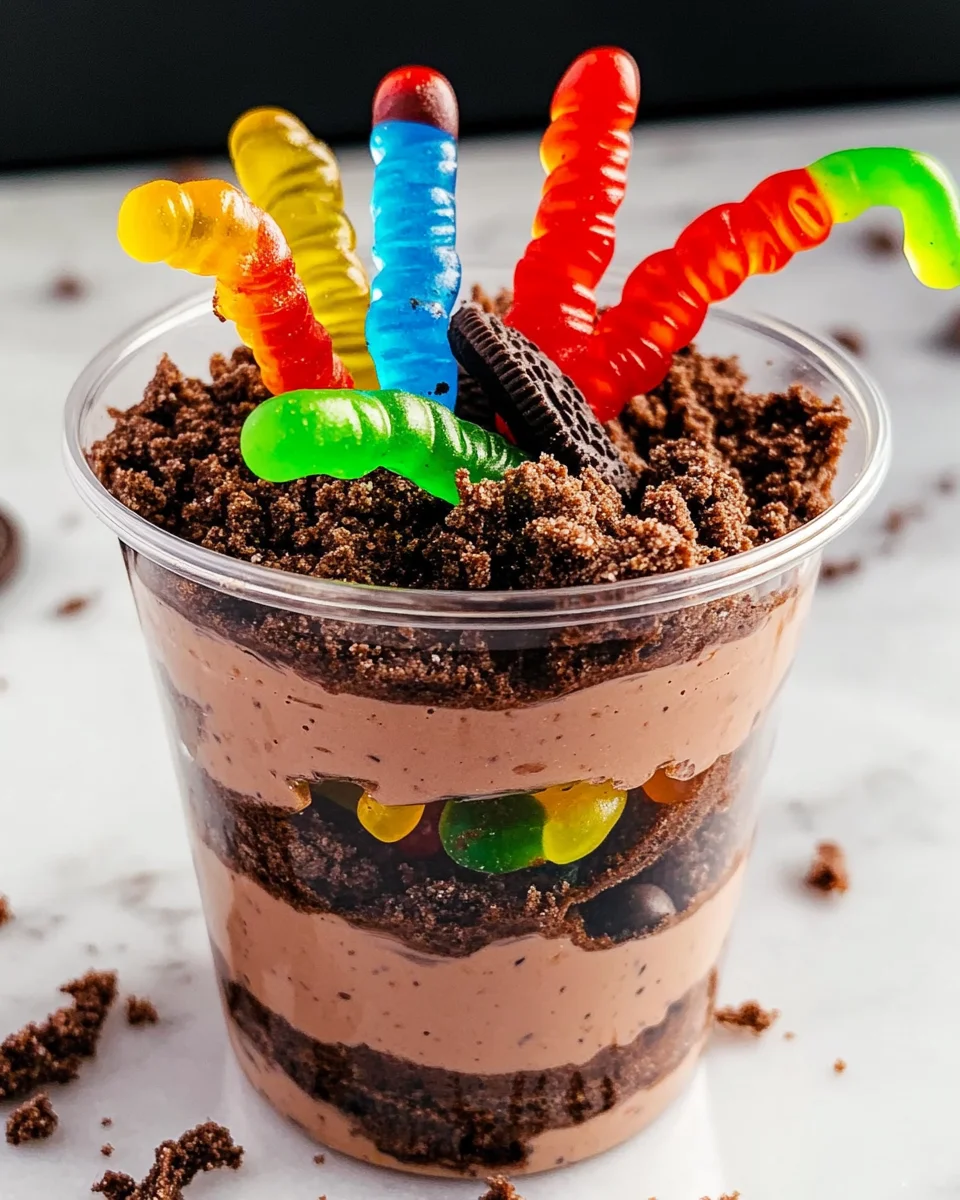
Dirt and Worms Pudding Cups are a whimsical dessert that will delight children and adults alike! These individual cups combine creamy chocolate pudding, crunchy Oreo crumbs, and playful gummy worms to create a treat that’s perfect for birthdays, school parties, or just a fun snack at home. The combination of textures and flavors makes this dessert both delicious and entertaining.
Why You’ll Love This Recipe
- Easy to Make: With just a few simple ingredients, you can whip up these delightful cups in no time.
- Kid-Friendly: Kids love getting involved in the kitchen, especially when it means making something as fun as Dirt and Worms Pudding Cups.
- Customizable: Feel free to add different candies or toppings to suit your taste or theme of your event.
- No-Bake Dessert: This recipe requires no baking, making it perfect for hot days or when you’re short on time.
- Great for Parties: These pudding cups are visually appealing and make a great addition to any party table.
Tools and Preparation
Before you start making your Dirt and Worms Pudding Cups, gather the necessary tools. Having everything ready will streamline the process and enhance your cooking experience.
Essential Tools and Equipment
- Mixing bowl
- Whisk
- Measuring cups
- Plastic serving cups
- Spoon for layering
Importance of Each Tool
- Mixing bowl: A large bowl allows ample space for whisking the pudding mix with milk without spills.
- Whisk: Essential for creating a smooth mixture by breaking down any lumps in the pudding mix.
Ingredients
For the Pudding Base
- 1 (3.4 ounce) chocolate pudding mix
- 2 cups cold milk
For the Topping
- 1 (8 ounce) tub Cool Whip
- 20 Oreo cookies, finely crushed
For Garnishing
- 24 – 32 gummy worms
For Serving
- 8 plastic cups
How to Make Dirt and Worms Pudding Cups
Step 1: Prepare the Pudding Mixture
- Whisk together chocolate pudding mix and cold milk in a large mixing bowl until well combined and no lumps remain.
- Chill the mixture in the refrigerator for 5 minutes to thicken up.
Step 2: Add Cool Whip
- Fold the Cool Whip into the pudding until just combined; be gentle to maintain airiness.
Step 3: Assemble Your Cups
- Divide the pudding between your 8 serving cups.
- Top each cup with crushed Oreos, or layer them for added visual appeal!
Step 4: Chill and Garnish
- Chill the assembled cups in the refrigerator until ready to serve.
- Just before serving, garnish each pudding cup with 3-4 gummy worms. Enjoy!
How to Serve Dirt and Worms Pudding Cups
Serving Dirt and Worms Pudding Cups is all about creativity and fun! These dessert cups can be tailored to fit any occasion, making them a hit with kids and adults alike. Here are some serving suggestions that will make your pudding cups even more delightful.
Birthday Party Fun
- Decorative Toppers: Use themed decorations like mini birthday hats or candles to enhance the presentation.
- Colorful Plates: Serve the cups on vibrant, colorful plates to match the party theme.
Movie Night Treats
- Popcorn Pairing: Offer a side of buttery popcorn for a perfect sweet and salty combination.
- Themed Napkins: Use movie-themed napkins alongside the pudding cups for an extra touch.
Outdoor BBQ Delight
- Plastic Utensils: Provide fun, brightly colored plastic spoons for easy outdoor enjoyment.
- Gummy Worms Galore: Add extra gummy worms on the side for guests who want more of that chewy goodness!
School Celebration Snacks
- Personalized Labels: Create labels with each child’s name on their cup for a personal touch.
- Miniature Flags: Stick small flags into each cup with fun messages like Yummy! or Squeamish!
Halloween Treats
- Spooky Garnishes: Add edible eyes or plastic spiders on top for a frightfully fun look.
- Creepy Cups: Use black or orange cups to enhance the Halloween theme.
How to Perfect Dirt and Worms Pudding Cups
To elevate your Dirt and Worms Pudding Cups, consider these tips. They will help ensure your dessert is both delicious and visually appealing.
- Chill Before Serving: Make sure to chill the cups in the fridge for at least an hour. This enhances the flavors and gives a refreshing taste.
- Use Fresh Ingredients: Opt for fresh gummy worms and high-quality chocolate pudding mix for the best flavor.
- Layer Creatively: Experiment with layering pudding and crushed Oreos. This adds texture and makes each cup visually exciting.
- Add Whipped Cream Topping: A dollop of whipped cream on top provides an extra creamy texture that pairs well with chocolate.
- Serve with a Spoonful of Fun: Include colorful spoons or straws to make it easier (and more fun) to eat!
Best Side Dishes for Dirt and Worms Pudding Cups
Dirt and Worms Pudding Cups can be paired with several delightful side dishes. Complement your dessert with these tasty options for a well-rounded treat experience.
- Fruit Skewers: Colorful fruit skewers add freshness and balance out the sweetness of the pudding cups.
- Mini Sandwiches: Bite-sized sandwiches can provide a savory counterpart to your sweet treats, making them great for parties.
- Veggie Platter: A platter filled with fresh vegetables served alongside ranch dip offers a crunchy contrast.
- Cheese Cubes: Bite-sized cheese cubes add a savory option that kids often enjoy while balancing out the sweetness.
- Chocolate-Covered Pretzels: These sweet-and-salty snacks are always a hit, providing another layer of flavor alongside the pudding cups.
- Trail Mix Bowls: Offer bowls of trail mix as an easy grab-and-go snack that complements your dessert’s playful theme.
Common Mistakes to Avoid
Making Dirt and Worms Pudding Cups can be a delightful experience, but there are some common mistakes to steer clear of.
- Skipping the chilling step: Not allowing the pudding to chill for 5 minutes can lead to a runny consistency. Always give it time to thicken.
- Not crushing Oreos properly: If the Oreo crumbs are too chunky, they won’t mix well with the pudding. Aim for fine crumbs for the best texture.
- Overmixing Cool Whip: Folding in Cool Whip too vigorously can deflate it. Gently fold until just combined for a light, fluffy texture.
- Ignoring portion sizes: Using cups that are too large can lead to oversized servings. Stick to standard-sized plastic cups for proper portions.
- Forgetting gummy worms: It’s easy to overlook adding the gummy worms as a topping. Remember, they are essential for that fun touch!
Storage & Reheating Instructions
Refrigerator Storage
- Store in an airtight container or cover with plastic wrap.
- Keep in the refrigerator for up to 3 days.
Freezing Dirt and Worms Pudding Cups
- These pudding cups do not freeze well due to the whipped topping.
- It’s best enjoyed fresh, but if needed, store in a freezer-safe container for up to 1 month.
Reheating Dirt and Worms Pudding Cups
Reheating is not necessary as this dessert is served chilled.
- Oven: Not recommended; this dessert should remain cold.
- Microwave: Not recommended; heating will ruin the texture.
- Stovetop: Not applicable; serve as is from the fridge.
Frequently Asked Questions
Here are some common questions about making Dirt and Worms Pudding Cups.
How can I customize my Dirt and Worms Pudding Cups?
You can customize by adding different toppings like mini chocolate chips or sprinkles. Feel free to use different flavored pudding mixes for variety!
Can I use homemade pudding instead of instant?
Absolutely! Homemade chocolate pudding will work perfectly, though it may require more chilling time.
Are Dirt and Worms Pudding Cups suitable for parties?
Yes! They’re fun, visually appealing, and perfect for parties or gatherings. Guests of all ages love them.
What other candies can I use besides gummy worms?
Try using other gummy candies or even chocolate-covered bugs for an added twist!
Final Thoughts
Dirt and Worms Pudding Cups are a whimsical treat that brings joy and creativity into dessert time. Their versatility allows you to customize them with different flavors and toppings, making them perfect for any occasion. Try these delightful cups today!
Dirt and Worms Pudding Cups

Dirt and Worms Pudding Cups are a playful dessert that combines creamy chocolate pudding, crunchy Oreo crumbs, and colorful gummy worms. Perfect for birthdays, school parties, or just a fun treat at home, these delightful cups are sure to bring smiles to both kids and adults. With their whimsical presentation and delicious flavors, they’re an entertaining addition to any gathering. Plus, they’re incredibly easy to make—no baking required! Customize them with your favorite candies or themes to suit any occasion. Get ready for a dessert that’s as fun to make as it is to eat!
- Prep Time: 15 minutes
- Cook Time: None
- Total Time: 0 hours
- Yield: 8 servings
- Category: Dessert
- Method: No-Bake
- Cuisine: American
Ingredients
- 1 (3.4 ounce) chocolate pudding mix
- 2 cups cold milk
- 1 (8 ounce) tub Cool Whip
- 20 Oreo cookies, finely crushed
- 24 – 32 gummy worms
- 8 plastic cups
Instructions
- Whisk the chocolate pudding mix with cold milk in a large mixing bowl until smooth. Chill for 5 minutes.
- Gently fold in the Cool Whip until just combined.
- Divide the pudding mixture into the plastic cups.
- Layer crushed Oreos on top and chill until serving.
- Garnish each cup with gummy worms just before serving.
Nutrition
- Serving Size: 1 cup (150g)
- Calories: 210
- Sugar: 24g
- Sodium: 230mg
- Fat: 10g
- Saturated Fat: 4g
- Unsaturated Fat: 6g
- Trans Fat: 0g
- Carbohydrates: 30g
- Fiber: 1g
- Protein: 3g
- Cholesterol: 10mg